

Preparing Plaster Walls for Painting
If you want to refresh your interior design, painting your walls is the best option. A new colour can bring a new lease of life if applied correctly. However, there is little worse than uneven or peeling paint, so you should ready your walls to take on your new designs. Here is everything you should know about preparing plaster walls for painting.
Tools Checklist
Before preparing your walls for painting, you should gather some essential items. These tools will help you create a clean, smooth surface to easily paint on. You will need:
- Sponge
- Bucket
- 180-grit sandpaper
- Sanding block
- Wallpaper scorer
- Stripping knife
- Scraper
- Filling knife
- Filler
- Emulsion paint
- Roller tray
- 3-inch paint brush
- 9-inch paint roller
- Painter’s tape
- Brush
- Hoover
- Dust sheets
How to Prepare Newly Plastered Walls for Paint
When you have plastered your wall, you often cannot wait to add a splash of colour and make your rooms your own with fresh paint. However, there are a few steps you should take beforehand to provide the best-looking finish:
1. Wait for your plaster to dry
It may seem like an obvious step, but many people underestimate the time required for the plaster to dry. Typically, it dries in around 1-2 weeks, and you wait until the brown appearance turns pink. If it is a consistent colour, it is likely to be dry; a patchy appearance indicates that it is still wet.
2. Sand your walls
There may be a couple of uneven areas after plastering. Look in the corners, particularly for stray edges and remove them with your scraper. Then, run over these areas with 180-grit sandpaper to level them.
3. Mix a mist coat of paint
Your newly plastered walls absorb moisture, so you should seal them to prevent them from absorbing your paint. To achieve this seal, we apply a watered-down coat of paint called a mist coat. To mix your mist coat, blend three parts of paint with one part of water.
4. Apply your mist coat
Using the paintbrush and roller, apply the mist coat to the wall. Prevent messes by laying dust sheets and covering any furniture that you cannot remove from the room. As your mist coat is runny, you need to watch for drips and stop them.
This coat will soak into the wall and create a layer of moisture to protect your top coat. Leave it to dry entirely before moving on to the top layers of paint.
5. Paint a top coat
Once the mist coat is dry, you are ready to apply your top coat. To save time, apply a painted border with the brush and then use the roller to fill the wall. Spread the paint evenly for a perfect finish.
How to Prepare Old Walls for Paint
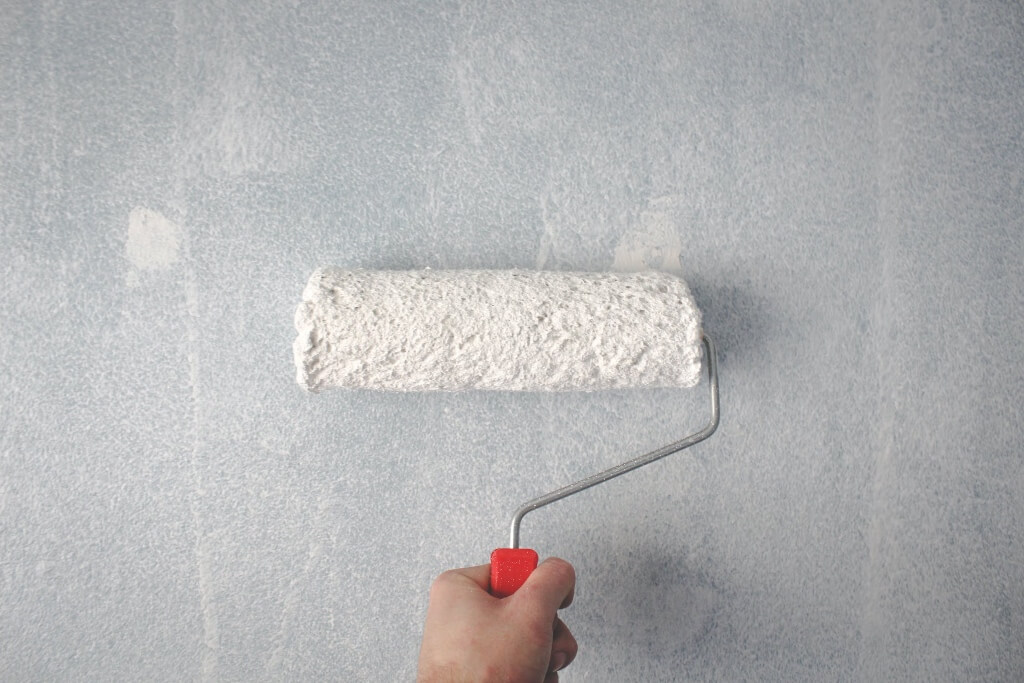
Most walls you paint will be old. Subsequently, you must take additional steps to ensure they are ready for paint. Whilst some people will tell you you can paint directly onto old walls, this advice may result in an uneven, unappealing finish. Here is how you should prepare the walls to avoid this issue:
1. Clean the wall
Through daily life, walls gather dirt. When you paint over this grime, your paint may not adhere, making decorating challenging. Using a sponge and water, carefully clean off any dirt. Then leave the washed wall to dry before moving on to the next steps.
2. Fill any holes
Holes often appear in plaster; when you hang up an item, you create a hole with the nail or screw. Additionally, daily wear can damage walls and create large holes that you may need to patch.
Holes disturb the appearance of the wall, creating gaps that draw attention. Use an all-purpose filler and a filling knife to block the hole, pushing it into cracks and holes from different angles to avoid gaps in the repair.
3. Sand the surface
Then you need to sand down your wall to level the surface for paint. Identify stray edges and extruding areas and remove them with the scraper. Place your dust sheets underneath the walls and then sand them with 180-grit sandpaper, especially the places you have filled and repaired. Next, use a brush to dislodge any dust from the wall, and finish by hoovering the area. Pay attention to the skirting boards, as the paint may stick to dust left here.
4. Paint
After you have levelled the surface, you can apply emulsion paint. Create a border with the paintbrush, and then fill it using the roller.
Preparing Wallpapered Walls for Paint

To upgrade your interior design, you can paint walls that previously had wallpaper. Though you may be tempted to paint over the patterned paper, the paint can loosen the wallpaper paste holding it to the wall. This shortcut risks the wallpaper peeling off, and you will have to go through the process again. Here is what you should do instead:
1. Remove the wallpaper
Start by gently marking the wallpaper with the wallpaper scourer. You must be careful and avoid scratching the plaster underneath. Then, apply warm water with a sponge to soak the wallpaper and remove it with a stripping knife. If you have stubborn wallpaper, you may need to use an electric steam stripper.
2. Fill any holes
Once you have revealed the plaster underneath, you may see several cracks and holes. Use a filler knife and all-purpose filler to repair them, pushing the filler into the holes and cracks from multiple angles to prevent gaps.
3. Sand the surface
The residue left by wallpaper paste creates an uneven surface to paint onto. Using 180-grit sandpaper, remove this residue and any leftover wallpaper, and then brush the wall and vacuum up the dirt.
4. Paint
Now that you have an even surface, you can begin painting. Don’t forget your dust sheets and coverings to avoid ruining your carpet and furniture.
Use Our Specialist Plastering Services
If you want to redecorate your home, plastering is a critical step that can quickly go wrong. Don’t worry. You can enlist our plastering services to achieve a smooth, clean finish, ready to be painted on. Plus, we can manage everything, preparing your plaster walls for painting.
All our team members are PASMA and IPAF accredited and hold CSCS cards, offering you expertise and reliability. We are based in Wiltshire and serve customers and clients throughout the South West of England, including Salisbury, Cheltenham, Bath and Oxford.
To learn more about our services or redecorate your home, contact our specialists today. We are happy to explain how we can help your interior design.
FAQ
Should I wash my walls before painting them?
Unfortunately, your walls attract dirt and dust over time. It can create uneven, unsightly painted surfaces and prevent your paint from adhering to the wall.
Should I sand my walls before painting?
You only need to sand old walls before painting. Newly plastered walls should already have an even surface to paint onto, but old walls may have rough spots. The best way to identify the rough areas is to run your fingers over the surface and feel for changing texture. Then you can use 180 grit sandpaper to smooth these sections.
I want to paint dark and light walls. Which should I do first?
You should paint your light walls first, as you can cover any light paint that gets on the other wall with your darker shade. Once your light paint wall has dried, cover the edge with painter’s tape to create a clean line between the two colours. If you do get dark paint on the light wall, clean it immediately.
Should I paint directly onto old or dirty paint?
No, whilst you can paint directly onto old or dirty paint, it will leave an unaesthetic finish and may peel in the future. Instead, you should clean and sand the walls to produce a clear surface to paint on.
How long should I leave a washed wall to dry before painting?
To make your paint adhere to the wall, ensure it has entirely dried after washing. Typically, drying takes between one and two hours, but you should always check before painting.

